
Each headshot shoot may have different creative expectations, but most are simple to execute. Your demeanor and professionalism are what make the project successful.
The current project brief, client examples, and producer direction take precedence over anything on this page.
Required for every headshot session
01 · Before the session
Arrive early and come prepared
02 · Camera settings and the look
Default settings when the brief is silent
Use these defaults unless the client has requested a shallow depth of field, which you can tell from the examples we send.
| Item | Default recommendation |
|---|---|
| Lens | 100mm minimum; 70–200mm ideal |
| Shutter | 1/125 or 1/160 sec |
| Aperture | f/8–f/16 |
| ISO | 100–400 |
| Camera height | Eye level; use an apple box for very tall subjects |
Headshot examples

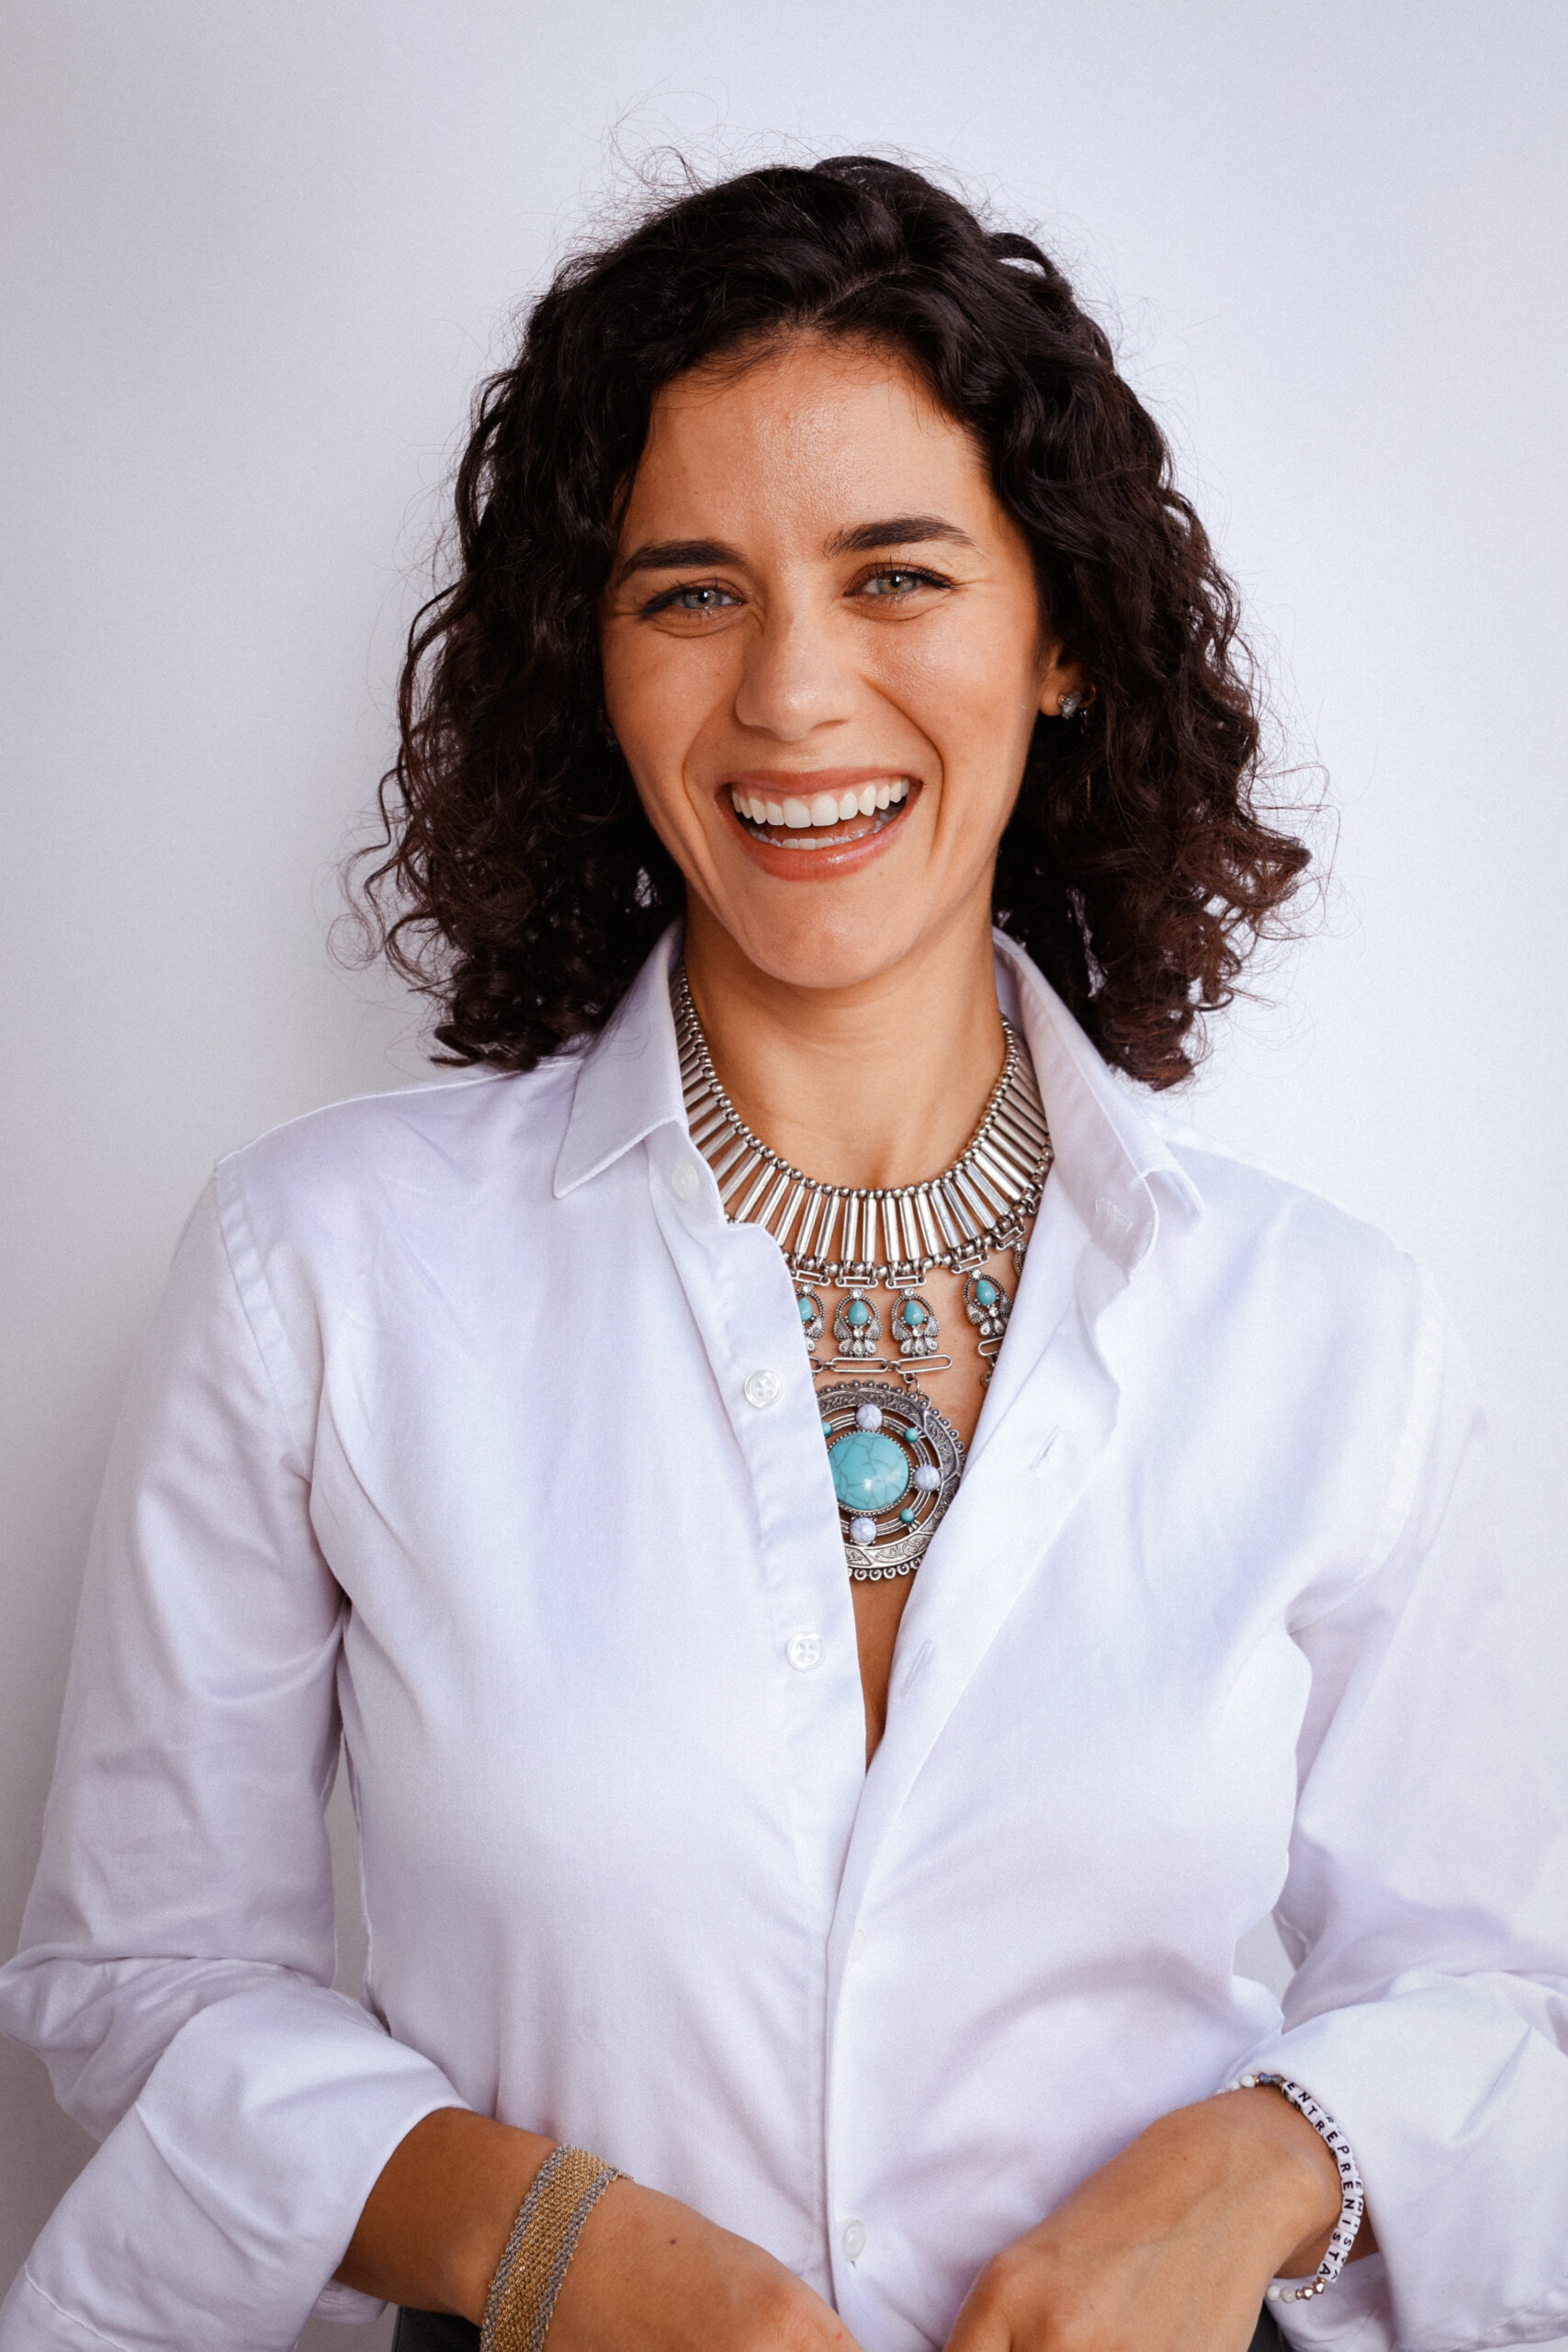
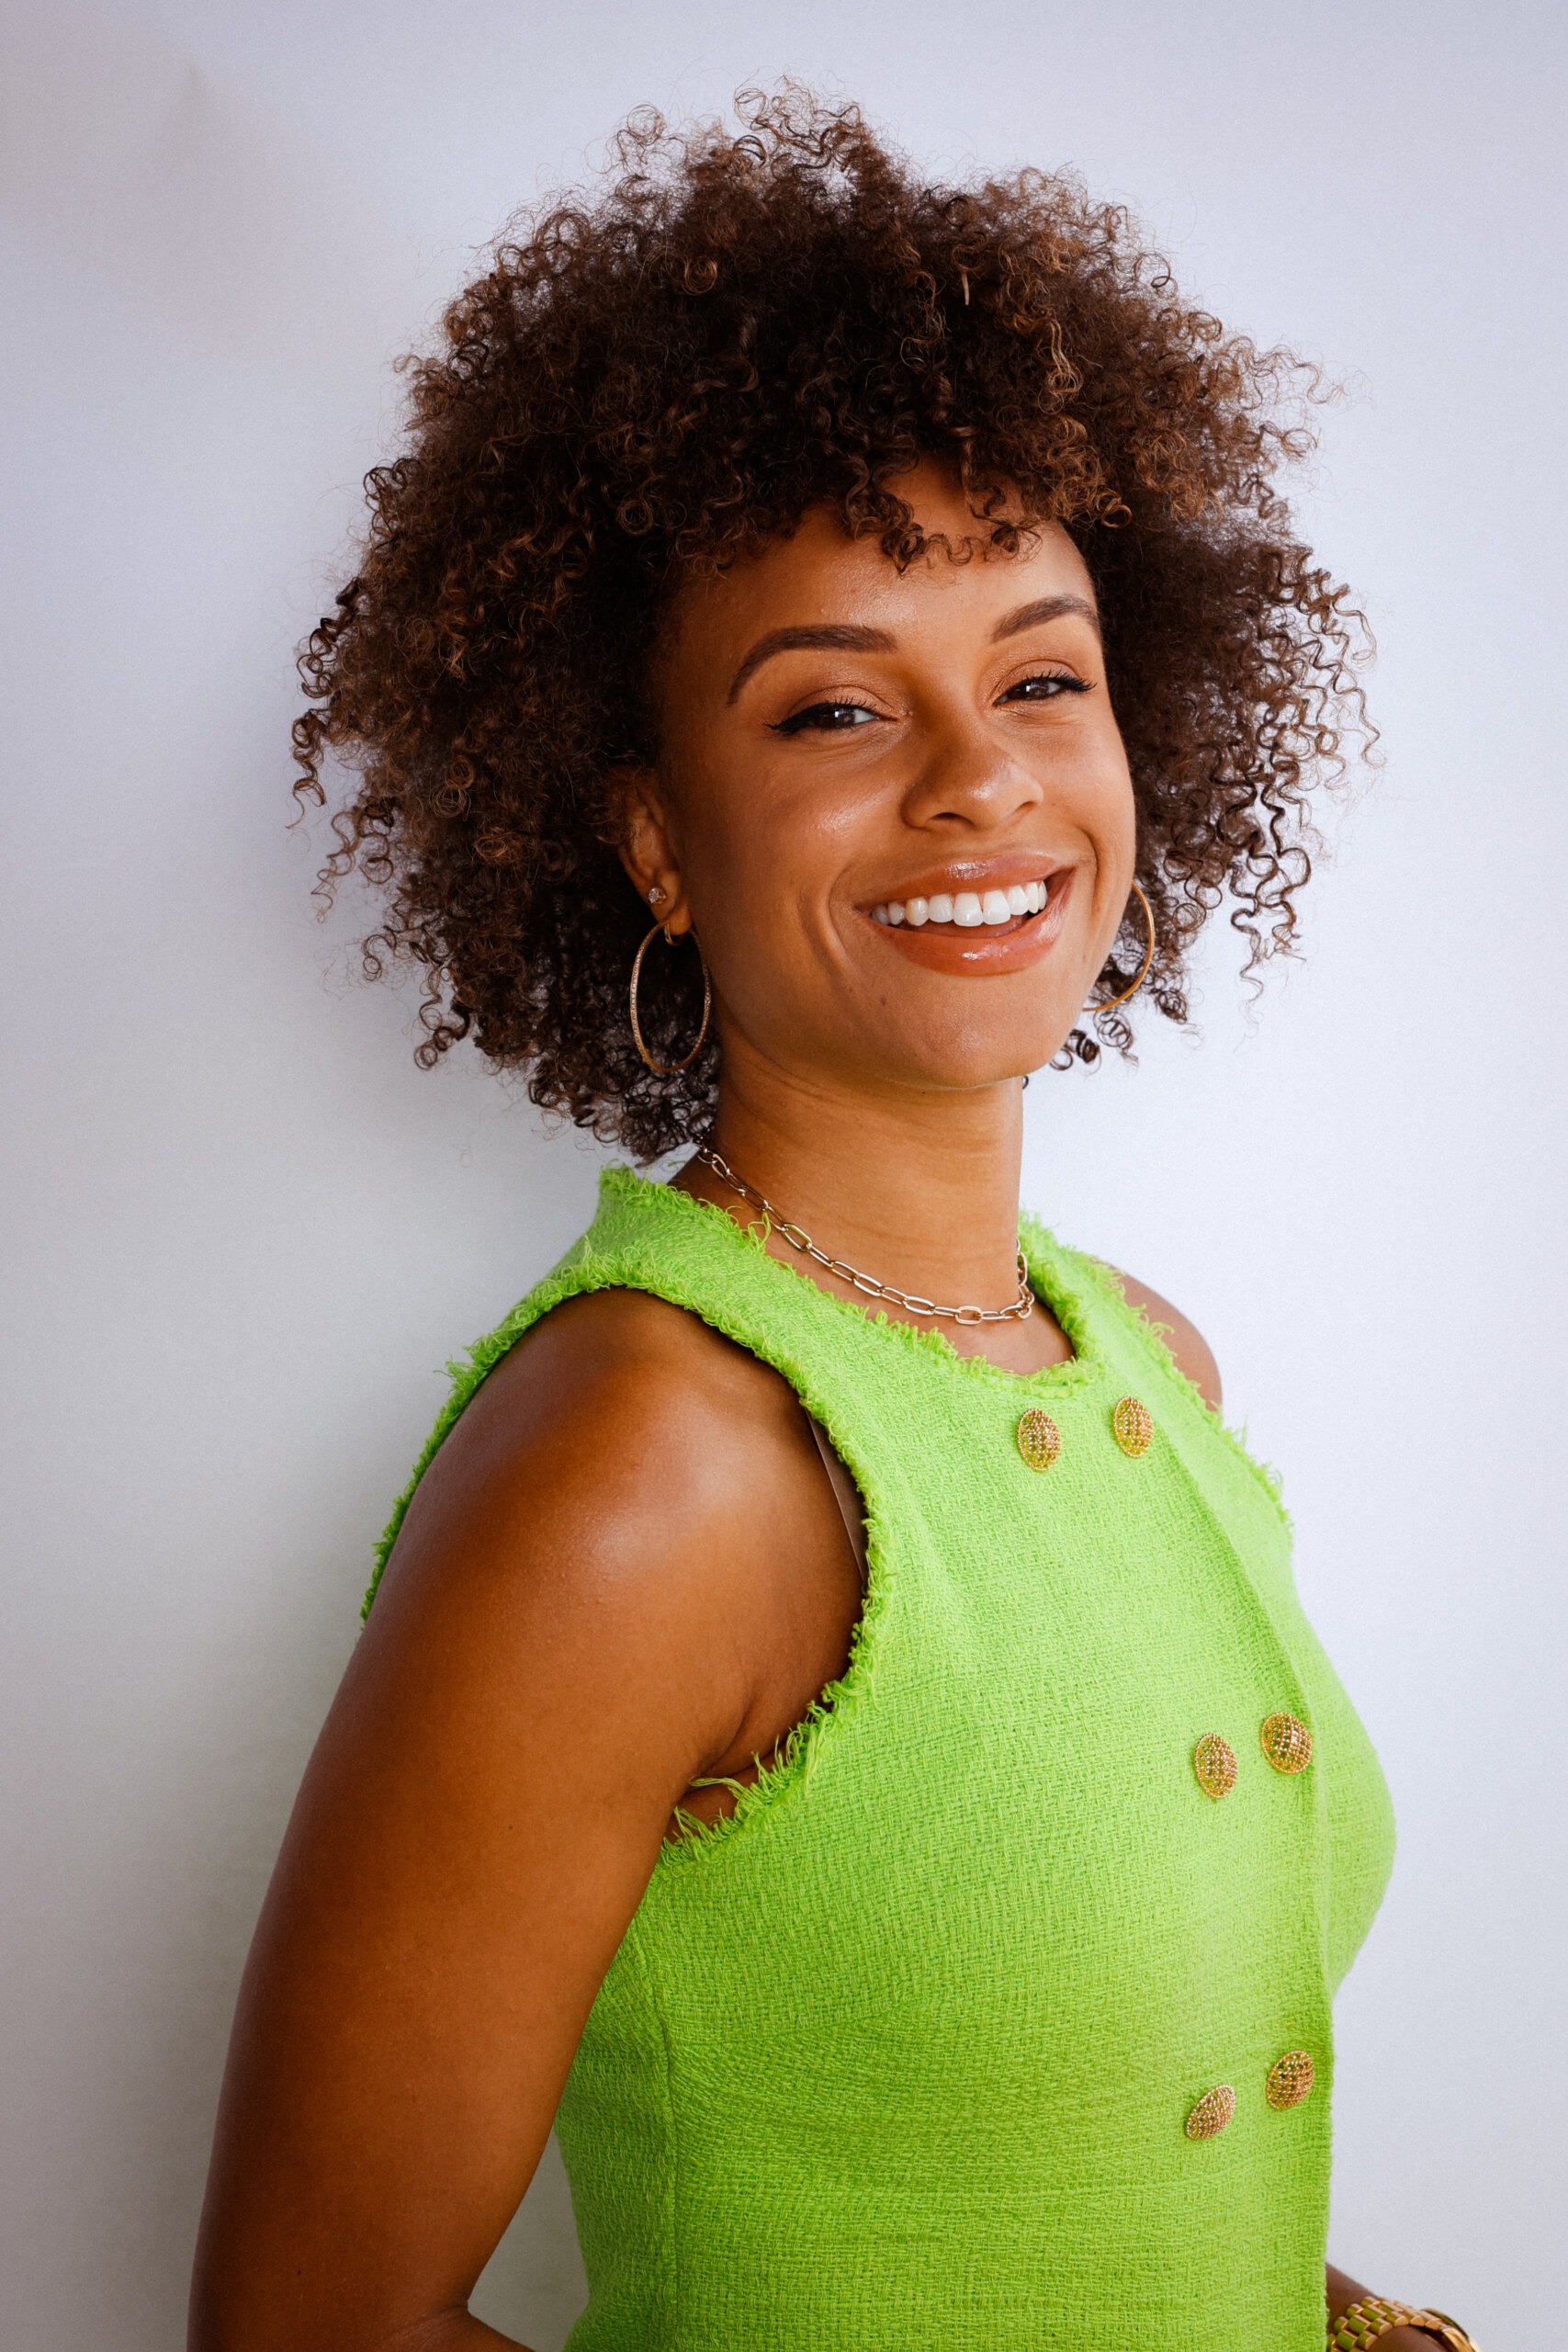
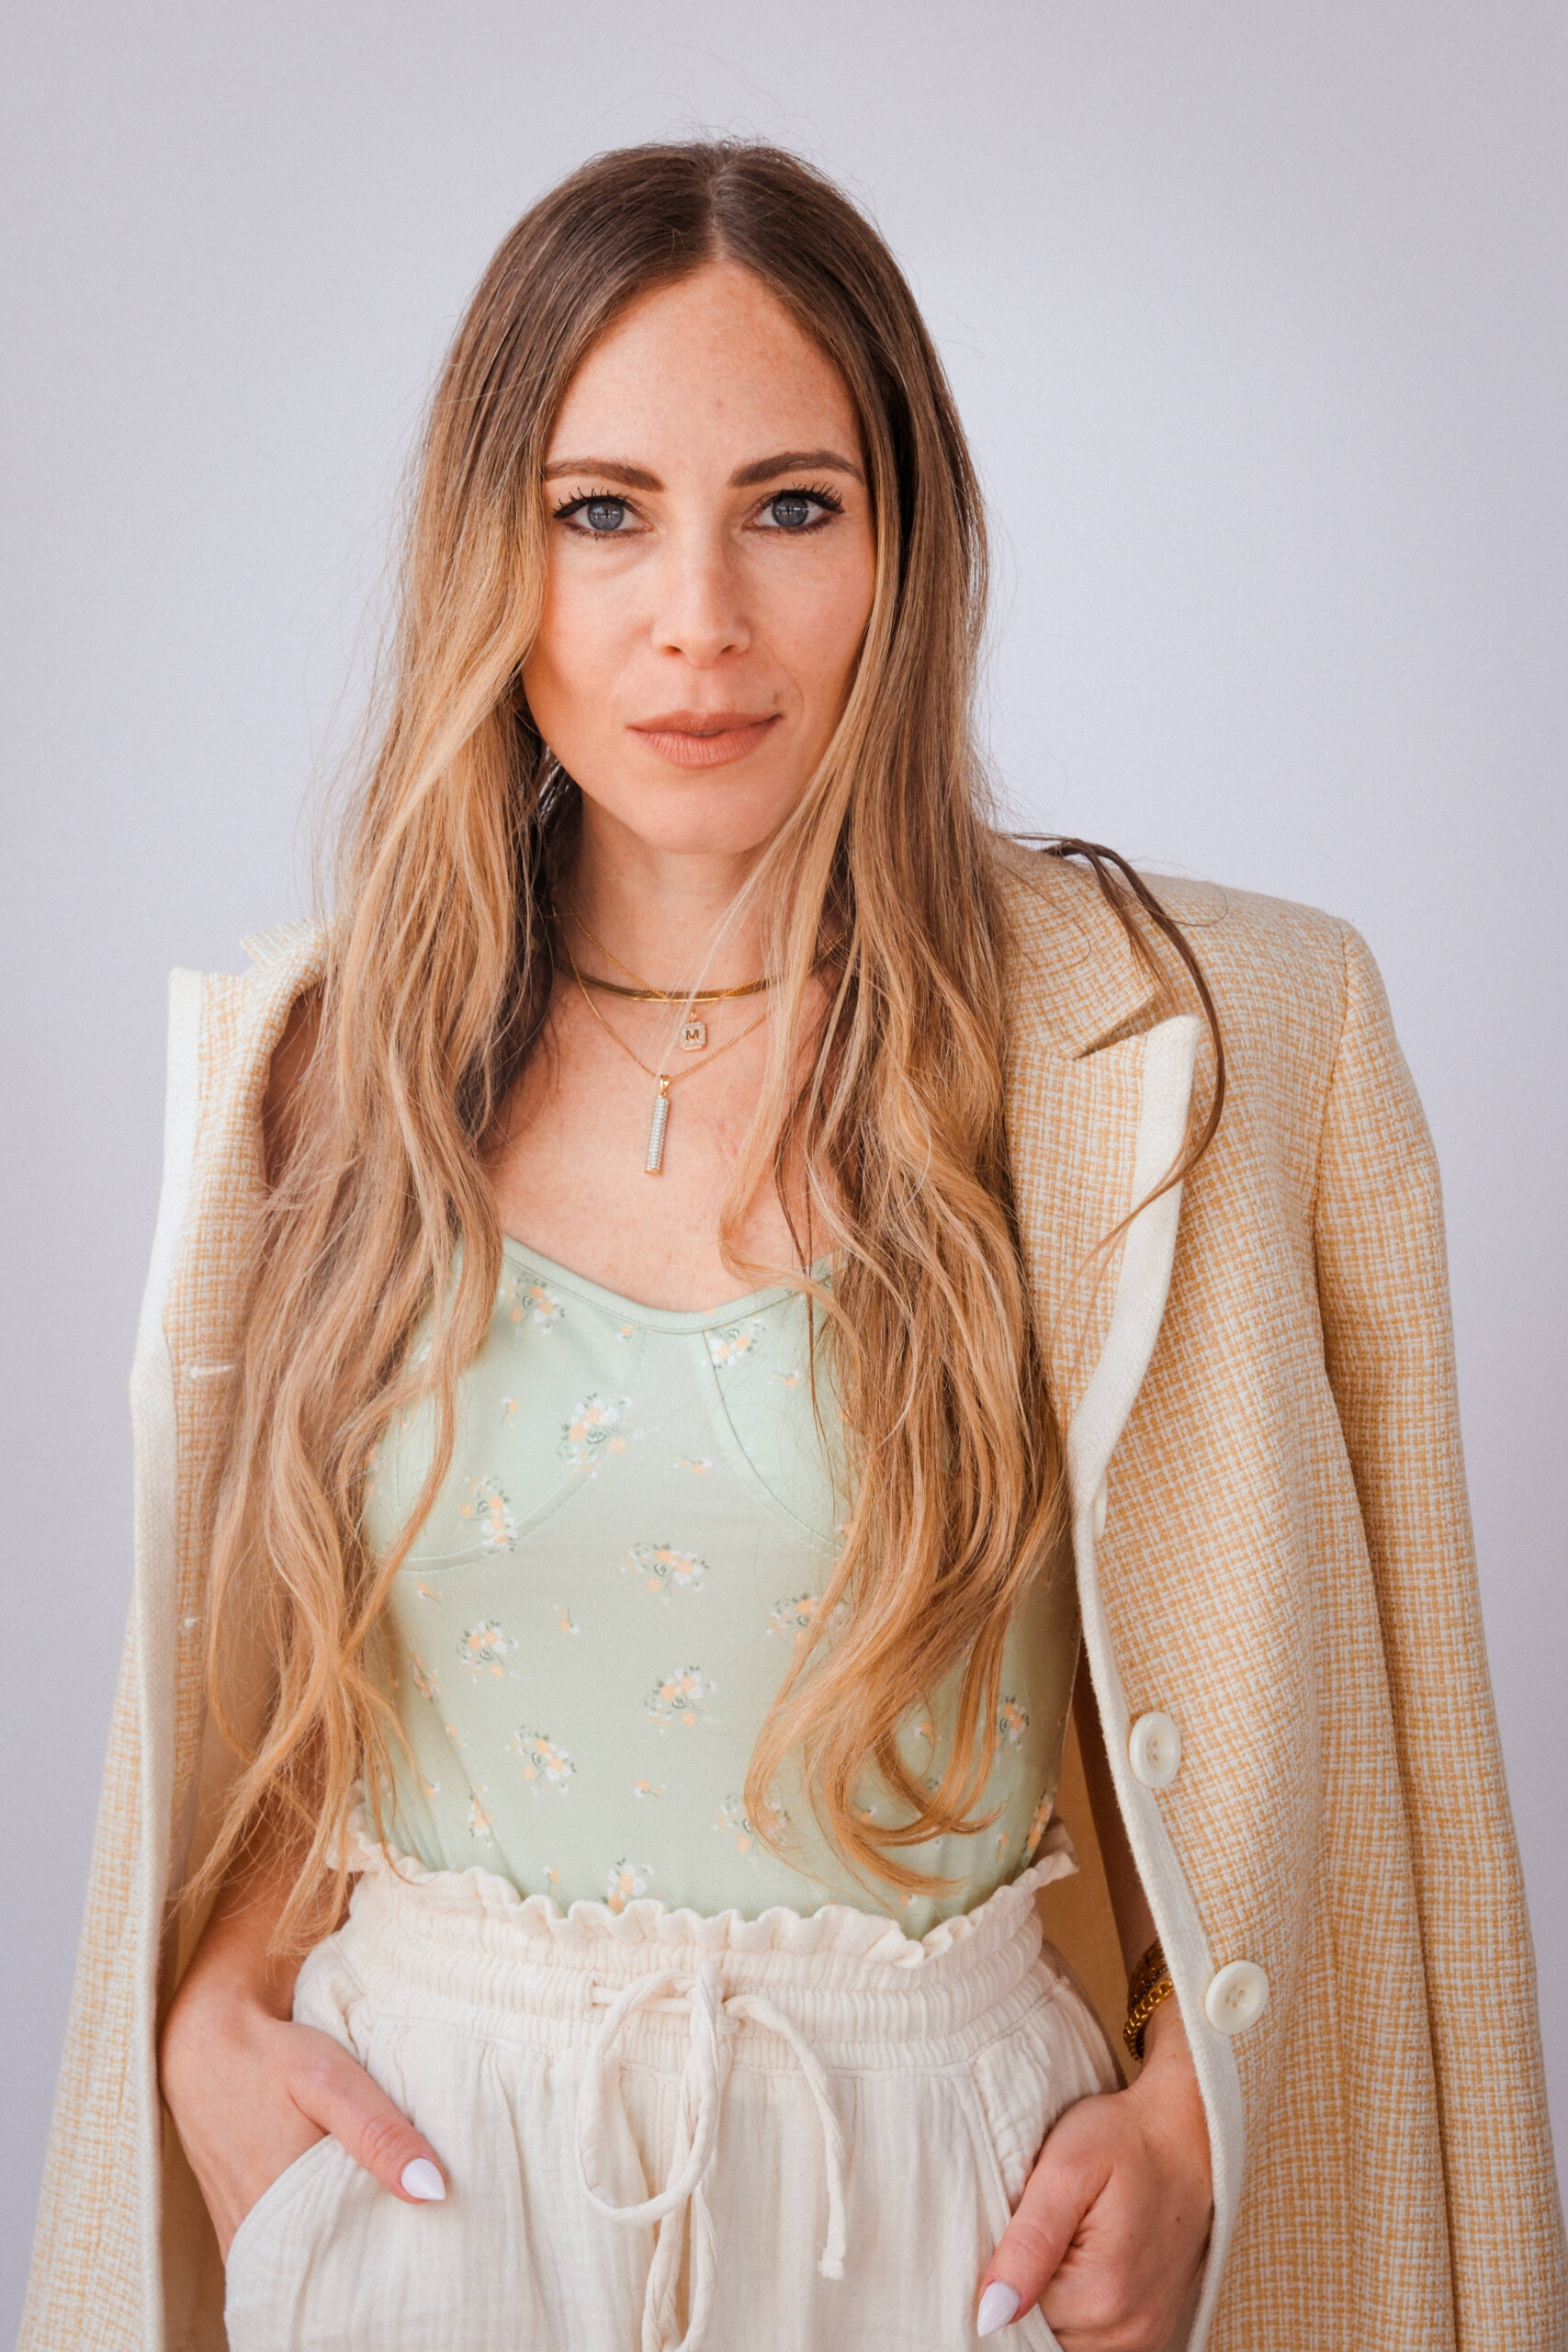
0 min
Set up before the first subject arrives
0 mm
Minimum focal length; 70–200mm ideal
0–12
Photos per subject, from both sides
0 px
Long edge for Headshot Tools exports
03 · On-set coaching
Once the lights are set, it’s about the person
- The headshot is more about coaching the subject than the lighting. Guide them through poses and make it a fun, relaxed experience. Have a few jokes or stories ready to keep the energy up through the whole shoot.
- Shoot everyone from both sides of their face, in a variety of appropriate poses.
- Shoot at eye level. Bring an apple box for very tall subjects so you’re never too high or too low.
- Be vigilant about anything out of place: hair caught on shoulders, visible straps, a necklace askew, a suit buttoned incorrectly, a crooked tie, or an untucked shirt.
- Ask if you can “adjust” someone’s hair. “Fixing” implies a problem; “adjusting” sounds fine.
- Always ask permission before you touch anyone.
- Watch for glare on glasses throughout the session.
- Adjust the subject’s angle or the light position to remove reflections.
04 · Tether shooting and email sharing
Keep the line moving and the connection solid
Which software you tether into depends on whether subjects receive their photos onsite.
No onsite sharing
Lightroom is fine
When subjects only review or select their favorites onsite, tether into Lightroom (or Capture One) as you normally would.
Emailing headshots onsite
Capture One + Headshot Tools
When subjects receive their headshots by email at the session, you must use Capture One with Headshot Tools. Setup steps in section 05 →
05 · Onsite email sharing: Capture One + Headshot Tools
Required when headshots are emailed onsite
Only for jobs with onsite email sharing, and don’t skip a step. Missing even one setting will cause the job to fail in Headshot Tools. Run through all three steps each time you create a new Capture One session. Not sharing onsite? You can tether into Lightroom and skip this section.
Next Capture Naming · Format
1. Clipboard Contents 2. 4 Digit Counter
Only see “1 Digit Counter”? It’s a drop-down. Click the arrow beside it to switch to 4 Digit Counter.
| Export recipe setting | Value |
|---|---|
| Folder | Session Default (Output) |
| Subfolder | Headshot Tools (created on first export) |
| Existing files | Overwrite (if your version has it) |
| Naming format | Image Name |
| Format | JPEG |
| Quality | 80 |
| ICC profile | sRGB (e.g., sRGB Color Space Profile or sRGB IEC61966-2.1) |
| Resolution | 300 px/in |
| Scale | Long Edge, 2048 px |
Troubleshooting
06 · Headshot session checklist